 Free neon sign tools
 Artwork quotes

The neon sign details to hand your venue
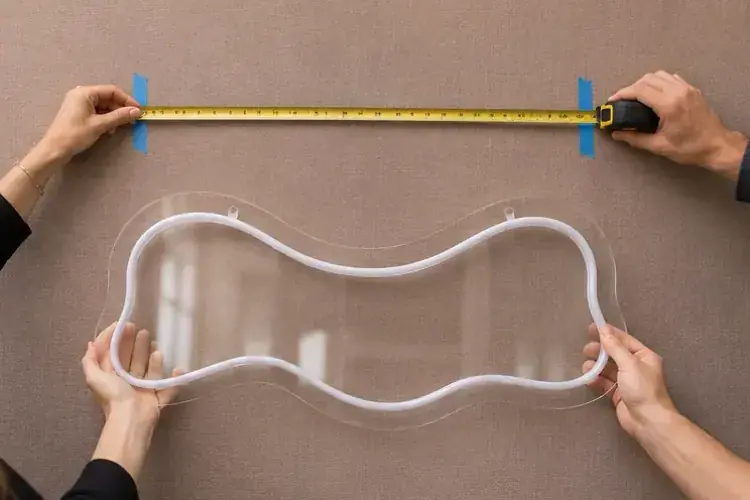
Give the venue the board dimensions, body weight, allowed hanging method, plug location and delivery window. Put the final drawing and one contact in the same handoff.
RETRP editorial ·
On this page
Have the venue describe the support
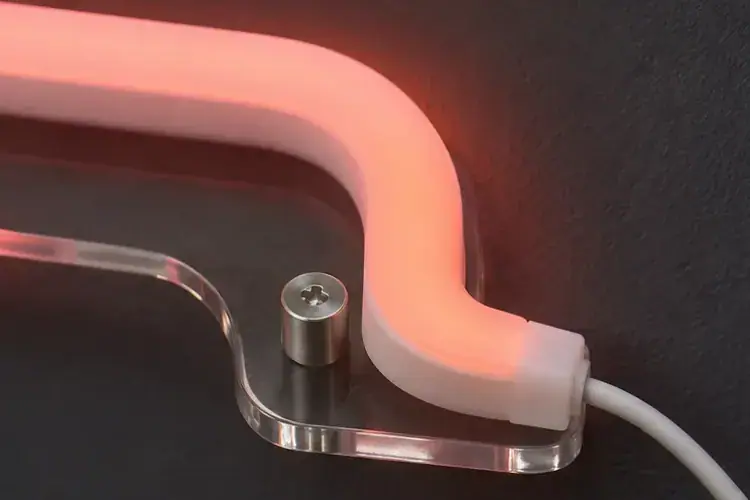
Ask whether the backdrop is a fixed wall, a frame or something that needs to stay unmarked. Record the available mount points and request the approved hardware or person responsible for it. A decoration over a guest route needs the venue’s installation process.
Measure the real route to power
Measure the vertical and horizontal runs around trim and furniture. Include slack and check the length from the board’s exit point to the plug. For an 18 in horizontal run, 36 in drop and 8 in reserve, plan for 62 in along the drawn route. Verify the assembly against the instructions.
Share the same drawing and timing
Send the wall view, finished board weight and size, the sign revision, outlet location and supplier contact. Include the setup window and the person who can approve a move on the day. If the plan includes outside use, get the weather conditions approved along with the new mounting points.
Questions before you order
What if the venue does not allow drilled holes?
Ask the venue what stand or existing mount points it accepts. Verify the finished sign weight, mounting method and access to the power supply.
Does a straight-line distance to the outlet work?
Measure along the path the cord actually takes. Look for trim and routes used by guests before fixing anything.
Sources: Neon Now installation guide · RETRP product facts